Sensor Introduction
What you'll learn
- Understand what each common sensor does
- Read sensor values in your code
- Use sensor data to make decisions
- Build a simple sensor-based autonomous routine
Sensor Introduction
In the last tutorial, we drove set distances and turned set angles. That works, but it has a big problem: your robot is basically driving blind. If the wheels slip a little, if the battery is low, or if someone bumps the field — everything is off.
Sensors change the game. Instead of “drive forward for 24 inches and hope you reach the wall,” you can say “drive forward until you are 4 inches from the wall.” That is the difference between a good autonomous and a great one.
Timing-Based vs. Sensor-Based Autonomous
Let’s be real about what most teams start with. You drive your robot forward for a set time or distance, turn for a set angle, and cross your fingers that it works the same way every run. Experienced teams call this the “hope and pray” method.
It can work for simple routines, but as your autonomous gets more complex, small errors stack up. By the third or fourth move, your robot might be inches away from where it should be.
Sensor-based autonomous programs correct as they go. The robot checks its environment and makes adjustments. This is how the top teams build routines that work consistently, match after match.
The Distance Sensor
The distance sensor is one of the most useful sensors in VEX IQ. It measures how far away an object is by bouncing light off it — kind of like echolocation, but with infrared light instead of sound.
Setting It Up
Plug the sensor into any available port on the brain and use that port number in your code.
Reading Values

The sensor returns a number representing how far away the nearest object is. If nothing is in range, it returns a very large number.
Example: Drive Until Near a Wall
This is the classic distance sensor use case. Instead of guessing how far to drive, we drive until we are a specific distance from the wall:

Let’s walk through this:
- We set a moderate speed (accuracy matters more than speed here)
- We start driving forward using
drive()(non-blocking, so the code continues) - We enter a while loop that keeps checking the distance sensor
- As long as the object is more than 100mm away, we wait 20 milliseconds and check again
- Once the sensor reads 100mm or less, the loop exits and we stop the robot
This robot will stop 100mm (about 4 inches) from any wall or object, every single time, regardless of where it started. That is powerful.
Distance Sensor Use Cases
- Wall alignment: Drive up to a wall to get a consistent starting position
- Object detection: Check if a game piece is in front of the robot
- Collision prevention: Stop before crashing into something
- Measuring gaps: Check if there is enough space to fit through an opening
The Bumper Sensor
The bumper sensor is the simplest sensor in VEX IQ. It is basically a button — either it is pressed or it is not.
Setting It Up
Reading Values

That is it. One function, one true/false answer.
When to Use It
The bumper sensor is great for wall alignment. Drive your robot gently into a wall until the bumper presses, then you know you are flush against it. This gives you a consistent starting position for the rest of your autonomous routine.

Keep the speed low here. You do not want to slam into the wall at full speed — that is hard on the robot and on the wall.
The Color Sensor
The color sensor can detect colors and whether an object is close to it. This is useful in games that involve sorting or identifying colored objects.
Setting It Up
Detecting Colors

The sensor can detect common colors like red, blue, green, and yellow. The lighting in the room can affect accuracy, so test in the environment where you will be competing.
Detecting Nearby Objects

This is handy for checking if you have successfully picked up a game piece.
Color Sensor Use Cases
- Sorting objects by color (very common in VEX IQ games)
- Line following — point the sensor at the floor and follow a colored line
- Identifying game elements to decide what to do with them
The Inertial Sensor (Gyro) — The MVP
If you only add one sensor to your robot, make it the inertial sensor. Seriously. This sensor single-handedly transforms your autonomous from “kind of works sometimes” to “nails it every run.”
What Does It Measure?
The inertial sensor (sometimes called a gyro) measures your robot’s rotation. It knows exactly how many degrees the robot has turned, no matter what. Wheels slipping? Does not matter — the sensor measures the actual rotation of the robot, not the wheels.
Setting It Up
For a deeper dive into inertial sensor calibration, heading reads, and accurate turns, see the Understanding Inertial Sensor Data article in the VEX Knowledge Base.
Advanced tutorial: The video below shows how the inertial sensor can be used to drive and turn accurately in a full autonomous routine.
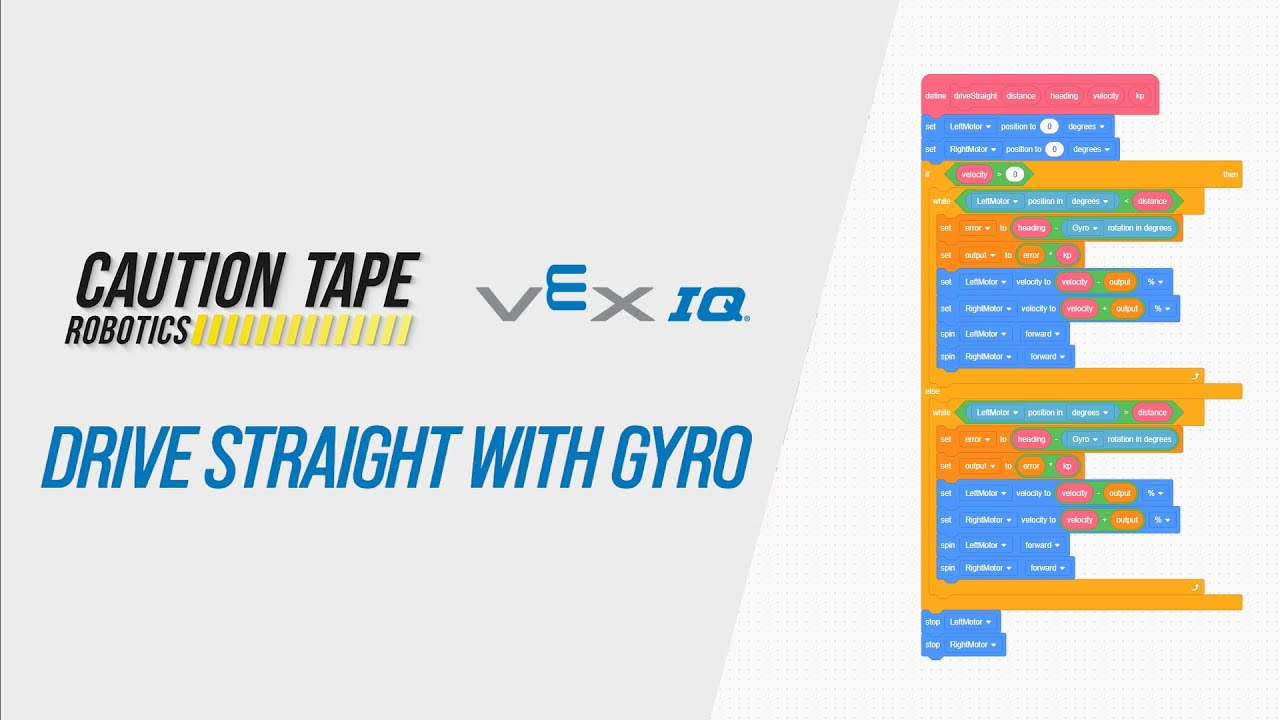
Using the Inertial Sensor for Accurate Driving and Turning
Putting It All Together
Let’s build a simple autonomous routine that combines the distance sensor and inertial sensor. The robot will:
- Drive forward until it is close to a wall
- Stop
- Turn exactly 90 degrees to the right
- Drive forward again for a set distance

Notice the wait(500, MSEC) calls between moves. These short pauses let the robot come to a complete stop before starting the next action. Without them, momentum can carry over and throw off your next move.
Sensor Best Practices
Here are some tips that will save you headaches:
Always Calibrate the Inertial Sensor First
Put inertial.calibrate() and the wait at the very beginning of your autonomous code, before anything else happens. The robot must be completely still during this time.
Use Small Wait Times in Sensor Loops
In our while loops above, we use wait(20, MSEC). This polls the sensor 50 times per second, which is plenty fast. Do not skip the wait entirely though — running the loop as fast as possible can cause issues and wastes processing power.
Test on the Actual Competition Surface
Your robot behaves differently on carpet versus tile versus wood. The distance sensor might get different readings depending on the wall material. If your competition is on foam tiles (most VEX IQ events), practice on foam tiles. If you only have tile at home, be ready to make small adjustments at the competition venue.
Label Your Sensor Ports
This sounds boring, but trust us — when you are in the pit at a tournament trying to debug your code, knowing which sensor is on which port without having to trace wires is a lifesaver. A piece of tape with “P2 - DIST” written on it goes a long way.
Have a Backup Plan
Sensors can fail. Wires come loose. If your entire autonomous depends on one sensor reading and that sensor disconnects during a match, your robot might drive off the field. Consider adding timeout conditions:

This way, even if the distance sensor fails, the robot stops after 5 seconds instead of driving forever.
VEXcode Blocks Equivalent
All of these sensors have corresponding blocks in VEXcode Blocks. Look in the Sensing category for blocks like “distance from,” “bumper pressing,” “color detected,” and “inertial heading.” The logic is the same — you still use while loops and if-then statements, they are just visual instead of text-based.
Challenge: Sensor-Based Navigation
Here is your challenge: write an autonomous program that does the following:
- Drive forward until the distance sensor detects an object within 150mm
- Stop and wait half a second
- Turn right 90 degrees using the inertial sensor
- Drive forward for 12 inches
- Stop
Bonus points:
- Add a timeout to the distance sensor loop so the robot does not drive forever
- Use
set_drive_velocityto go slower during the sensor-based driving and faster during the fixed-distance drive - Add a second turn and drive to make it an obstacle avoidance routine
If you can complete this challenge, you are ready to start building real competition autonomous routines. You have the two most important tools in your belt: accurate driving with the drivetrain, and smart decisions with sensors.
What’s Next?
Now that you know how to read sensors, the next step is learning how to use them in more advanced ways — like PID control for smooth, precise movements, and combining multiple sensors for complex autonomous routines. But that is for the intermediate tutorials. For now, practice with what you have learned and get comfortable with sensor loops. The more you experiment, the better your autonomous will get.